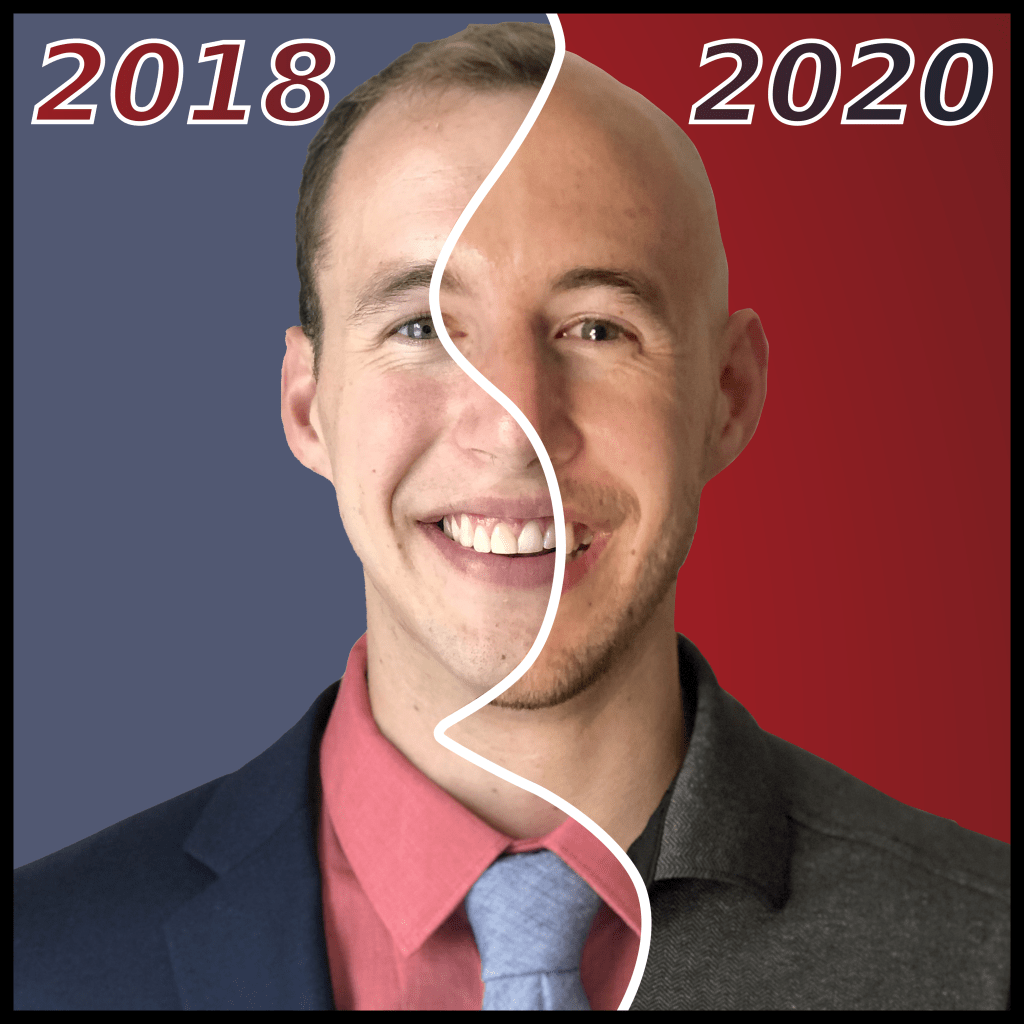
2018 vs. 2020 Professional headshots. Updated hairline, ha!
July 2018:
Me: Hey, look! My suit fits! I am READY for wedding season!
Kate C.: Want a professional headshot?!
*Pulls out her iPad and takes a photo*
Me: Ha, cool. Thanks!
*Edits away background*
November 2019:
Me: Time for NO SHAVE November; goodbye hair!
*Trimmer buzzing*
October 2020:
Me: Ha, look! My professional headshot is terribly outdated, and, why am I wearing a suit?! Time for a pandemic haircut for my professional headshot! That’s better!
*Cracks hilarious joke about being more aerodynamic*

2020 professional headshot with edited background.
Interested in taking a headshot? Nice “Portrait-mode” tutorial here.
-or-
Interested in taking a headshot and editing the background to something else? Follow along for what I did here:
Step 1: I positioned a floor lamp to capture a light/shadow effect across my face. A personal lighting preference!
Step 2: My roommate snapped a few photos of me on his iPhone11 Pro.

Photoshoot. I inspected and selected for the photo where I have the least “crazy eyes”.
Side note (1/2): I learned a new lesson! My roommate used iPhone’s “Portrait-mode” setting, which uses photo processing technology to digitally simulate the background-blur, known as bokeh. In the example below, I circled my collar-stitching and arm. The collar-stitching has crystal-sharp detail, while my arm is blurry due to the simulated bokeh.

Collar-stitching (sharp) vs. arm (blurry) due to “Portrait-mode” photo processing.
Side note (2/2): I think this is OK for the purpose of cropping out the background. Especially considering that this professional headshot is intended for a 500×500 pixel JPEG-compressed profile picture for LinkedIn, Email…etc. “Portrait-mode” and this background editing technique is NOT recommended for creating a life-sized cardboard cut-out of yourself with crystal-sharp detail.
Step 3: Imported my photo to Inkscape.1 Personal photo-editing program preference!
Step 4: Traced the outline of my body and head using the Bezier (Pen) tool. I’ve learned that it looks best to bend corners and to avoid using straight lines wherever possible.

Using the Bezier tool to create a path from a series of curved and straight lines. In-progress path is the thin lime green line.2
Step 5: Completed the Bezier path.

Emphasized the Bezier path with a wide red Stroke Style.
Step 6: Cropped my body from the background using the Object->Clip->Set menu option.

Before crop.

After crop. Good-bye beige background and head-shadow!
Step 7: I created two layers: Background and Foreground. Then I selected and moved my cropped body to the Foreground layer using the Layer->Move Selection to Layer… menu option.

Step 8: On the Background layer, I placed a rectangle just inside the frame of my arms and torso. Next, I applied a Radial Gradient fill and used the Dropper tool to swatch Cardinal Red from my Wisconsin Logo!

I love brand-consistent color design! $9b0000 https://brand.wisc.edu/web/colors/
Step 9: Finally, I selected the Background layer rectangle and exported the image to the second picture you see at the top of this post!
The best part about having a Background/Foreground headshot is the creativity and customization of the Background layer! “Photoshopping” is fun!

2020_Headshot_AshKetchum.png

2020_Headshot_Astronaut.png

2020_Headshot_LeaningTower.png

2020_Headshot_AmericanGothic.png

2020_Headshot_TheScream.png
Friendly reminder to not take yourself too seriously! Ha!
Reach out if you would like a cropped professional headshot from a picture! $5? #SideHustle stevenmgruber@gmail.com
Example:
To: stevenmgruber@gmail.com
Subject: Cropped Professional Headshot
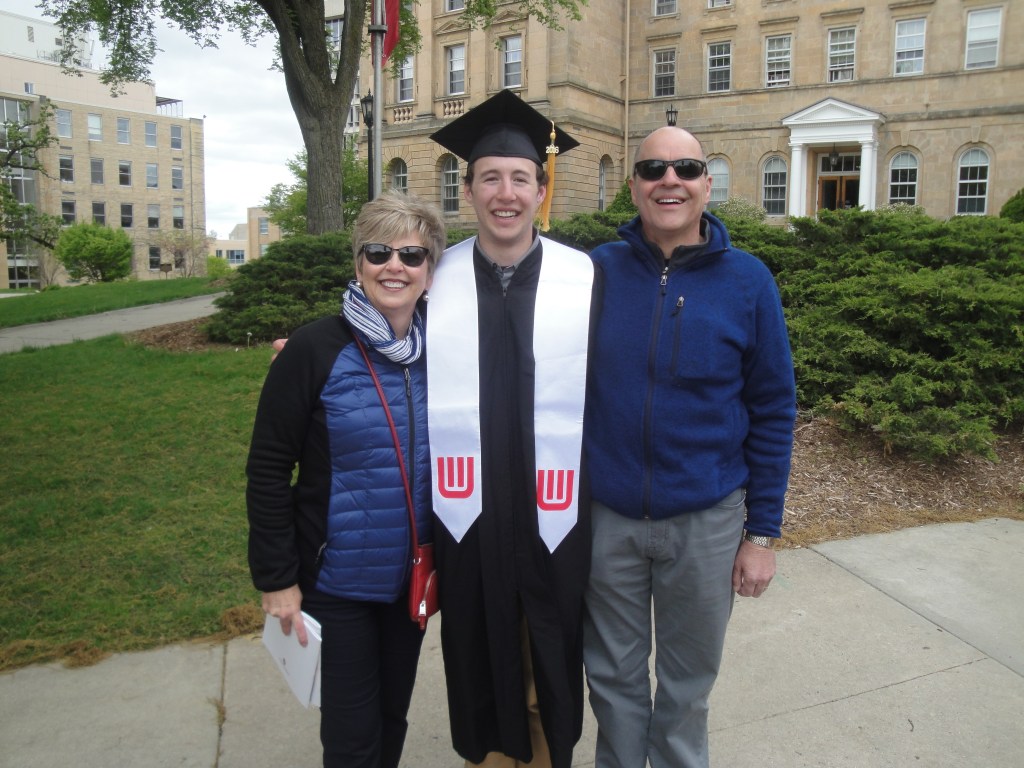
Body: I look GREAT, but my parents are photobombing this picture…Please edit my parents and put in a Badger Red background so I can use this as my professional headshot!
(I’m JOKING Mom and Dad! I love this photo and will never edit you out! <3)
1. Inkscape: https://inkscape.org/
2. Bezier Tool in Inkscape: https://www.tutorviacomputer.com/inkscape/the-bezier-tool/
